
Halloween Mummy Brownies
Halloween Mummy Brownies 👻
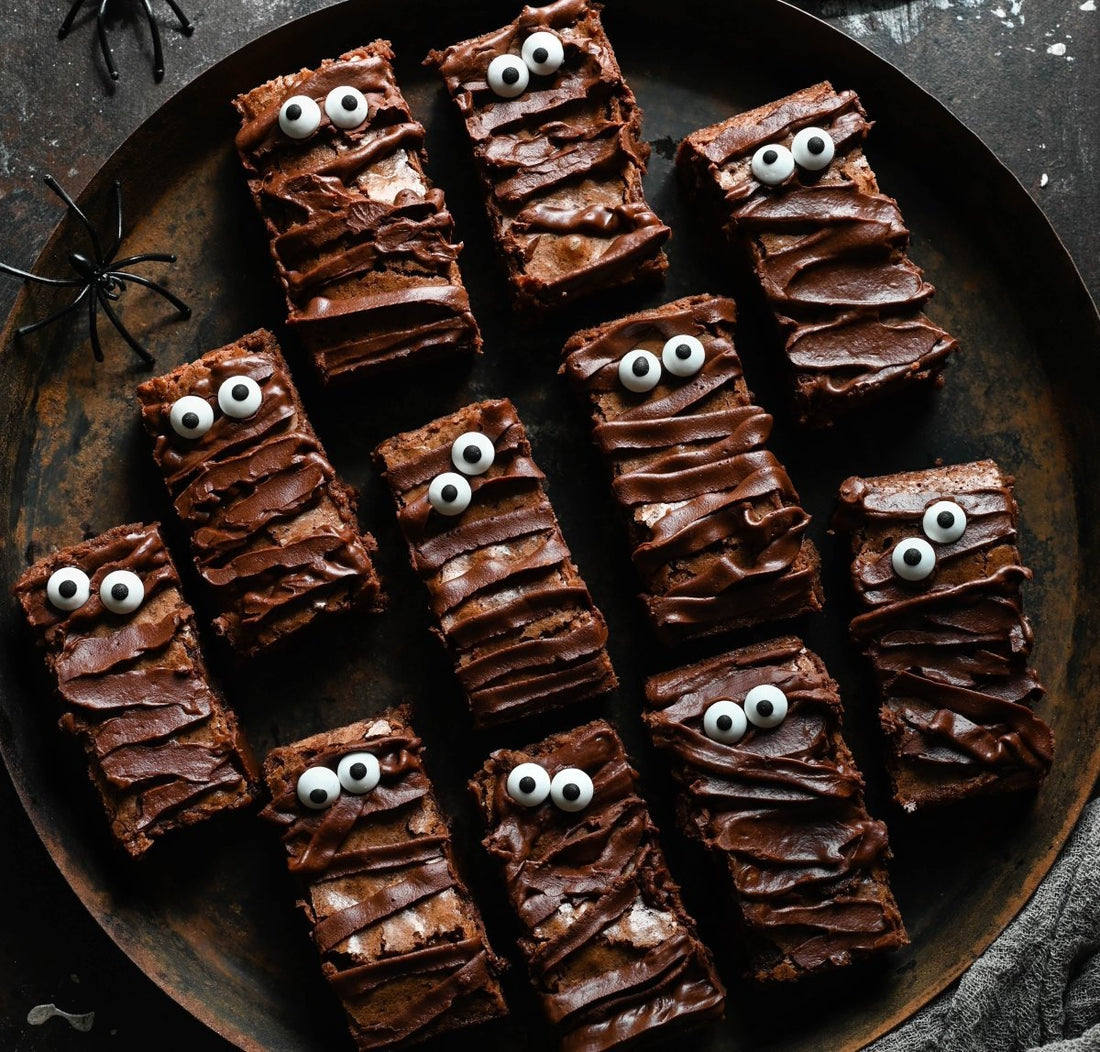
Fudgy, chocolatey, and just the right amount of spooky.

Halloween baking doesn’t have to be complicated — sometimes all it takes is a little chocolate and a pair of candy eyes to bring a treat to life (literally). These Halloween Mummy Brownies are the perfect mix of festive and delicious: rich, fudgy brownies wrapped in silky chocolate “bandages,” with just enough personality to make every kid — and adult — smile.
Whether you’re baking for a party, school event, or a cozy night in with scary movies, these brownies are simple to make, fun to decorate, and even better to eat.
🍫 Use Real Chocolate (It Matters)
Here’s the secret to truly great brownies: start with great chocolate.
We like to melt down pieces of our Harvest Snacking Chocolate for the base and drizzle — any variety from our collection works beautifully. Each origin brings its own personality: our Ecuador has deep cocoa notes with a touch of fruit, while our Dominican Republic is bright and smooth. You can’t go wrong.
Good chocolate gives your brownies a glossy finish, a rich depth of flavor, and that just-right fudgy texture you can’t fake with chocolate chips. It’s a small upgrade that makes a big difference — and it means your Halloween treats taste as good as they look.

🧁 What You’ll Need
For the Brownies:
- 2 sticks unsalted butter, cut into tablespoons
- 6 ounces dark chocolate roughly chopped -- choose your favorite Snacking Chocolate
- 2 cups granulated sugar, divided
- 4 large eggs
- 1 cup all-purpose flour
- teaspoon sea salt
For the Ganache:
- ½ cup heavy cream
- 4 ounces dark chocolate roughly chopped -- choose your favorite Snacking Chocolate
For Decoration:
- 36 small candy eyeballs
For the Brownies:
-
Prep the pan.
Preheat your oven to 350°F. Line a 9x9-inch baking pan with parchment paper, letting it hang over the sides for easy lifting later. Lightly spray the parchment with cooking spray. -
Melt the chocolate and butter.
In a double boiler (or a heatproof bowl set over simmering water), melt the butter and chocolate together over medium-low heat, stirring occasionally until smooth. Remove from heat. -
Whisk in the sugar.
Add 1 cup of sugar to the warm chocolate mixture and whisk until glossy and smooth. -
Mix the eggs and remaining sugar.
In a large bowl, whisk the eggs and remaining 1 cup of sugar until combined. Slowly pour the warm chocolate mixture into the eggs while whisking continuously until just combined. -
Add dry ingredients.
Gently fold in the flour and salt with a rubber spatula until no streaks remain. Avoid overmixing — this keeps the brownies fudgy. -
Bake.
Pour the batter into your prepared pan and smooth the top. Bake for 35–40 minutes, or until a toothpick inserted in the center comes out with just a few moist crumbs.
Transfer to a cooling rack and let the brownies cool completely before decorating.
For the Chocolate Ganache:
-
Heat the cream.
In a small saucepan, warm the cream over medium heat until it just begins to simmer. Remove from heat. -
Add the chocolate.
Stir in the chocolate and whisk until smooth and shiny. -
Chill.
Transfer the ganache to the refrigerator for about 30 minutes, or until it’s just thick enough to pipe.

Decorating the Brownies:
-
Slice.
Lift the cooled brownies out of the pan using the parchment paper and peel it away. Cut into 18 long, thin rectangles (6 rows by 3 rows). -
Pipe the bandages.
Whisk the chilled ganache until smooth. Transfer it to a piping bag fitted with a small flat tip (or a zip-top bag with a small hole cut in one corner). Pipe zigzag lines across each brownie to create mummy “bandages.” -
Add eyes and finish.
Press two candy eyes onto each brownie. Serve immediately or store in a single layer in an airtight container at room temperature for up to 3 days.
Tip: Melt your chocolate gently in a double boiler or microwave in short bursts, stirring between each one. Slow and steady keeps the texture silky.

🍫 Shop the Chocolate
Want to bake these the Harvest way?
Use any of our Snacking Chocolate varieties for melting, mixing, or drizzling:
- Ecuador Snacking Chocolate– Deep cocoa with subtle nutty notes
- Dominican Republic Snacking Chocolate– Chocolatey with bright fruit notes
- Uganda Snacking Chocolate– Rich and fudgy with dark fruit notes
Each one is handcrafted from bean to bar right here in Michigan.
🎃 Decorating Tips
Once your brownies are baked and cooled, slice them into bars and start the fun part — mummifying!
- Bandages: Use a piping bag or zip-top bag with a small tip to drizzle chocolate frosting in loose zig-zag lines across each brownie.
- Eyes: Candy eyes make the look, but if you can’t find them, white chocolate dots with mini chocolate chips on top work great too.
- Set the scene: A cooling rack, some parchment paper, and a few fake spiders instantly make your kitchen feel like a spooky photo shoot.
🕸️ Make It a Party
Pair your mummy brownies with Stovetop Hot Chocolate made from our bean to bar chocolate or a pot of Chocolate Sipping Tea for a cozy fall treat. If you’re hosting, set up a decorating station — kids can drizzle and add eyes themselves. It’s messy, hilarious, and totally worth it.
🍁 From Our Michigan Kitchen
We make a lot of chocolate treats here at Harvest Chocolate, but this one has a special place in our hearts because it’s pure Halloween fun — no tricks, just treats. Using real, bean-to-bar chocolate connects your baking back to the source — to the farmers, the craft, and the flavor that makes chocolate feel special.
So go ahead: crank up the spooky playlist, grab a whisk, and bring these little mummies to life.